
Overview
The Multi-Step Professional Skin Arrow Navigation allows users to navigate through steps in a multi-step product configuration interface.
Key features of this implementation:
-
Non-Looping Navigation: Prevents looping from the last step back to the first step or vice versa when clicking navigation arrows.
-
User-Friendly: Ensures a professional, linear workflow for product customization.
Application
This feature is ideal for multi-step product configurators where you want to enforce sequential navigation but users cannot accidentally loop back to first step from the very last step of configuration, maintaining a clear and professional workflow.
Steps to Implement the Feature
1. Replace WP Configurator Plugin template-functions.php content.
( ..\wp-content\plugins\wp-configurator-pro\includes\template-functions.php ).
This is to customize the end arrow navigation and stop the loop.
Paste the content of template-functions.php into the path indicated above for non-looping behavior. You can get the code below:
2. Add the Code Snippet
Next add the custom code snippet below to ensure there is no error occurs as we have updated the template-functions.php content above.
<?php add_filter( 'wpc_control_next_previous', function ( $html, $wpc ) { $html = '<template x-if="' . esc_attr( $wpc->store . '.hasOpenedGroupTopUid()' ) . '">'; $html .= '<div class="wpc-control-next-previous">'; $html .= '<span class="wpc-control-previous" x-bind:class="\'disabled\' === ' . $wpc->store . '.prevGroupUid ? \'disabled\' : \'\'" x-on:click="' . esc_attr( $wpc->store . '.openGroup( ' . $wpc->store . '.prevGroupUid, $el)' ) . '">'; $html .= '<span class="wpc-icon ' . esc_attr( apply_filters( 'wpc_control_previous_icon', WPC_Utils::icon( 'arrow-left' ), $wpc ) ) . '"></span>'; $html .= '<template x-if="\'disabled\' !== ' . $wpc->store . '.prevGroupUid">'; $html .= '<span x-text="' . esc_attr( $wpc->store . '.getLayerName( ' . $wpc->store . '.prevGroupUid, $el)' ) . '"></span>'; $html .= '</template>'; $html .= '</span>'; $html .= '<span class="wpc-current-group-navigation">'; $html .= '<span class="wpc-current-group-title" x-text="' . esc_attr( $wpc->store . '.getLayerName( ' . $wpc->store . '.currentOpenedGroupTopUid, $el)' ) . '"></span>'; $html .= '<span class="wpc-group-navigation-indexes">'; $html .= '<span class="wpc-current-group-index" x-text="' . esc_attr( $wpc->store . '.currentOpenedGroupTopIndex+1' ) . '"></span>'; $html .= '<span class="wpc-total-groups-count" x-text="' . esc_attr( $wpc->store . '.topLayers.length' ) . '"></span>'; $html .= '</span>'; $html .= '</span>'; $html .= '<span class="wpc-control-next" x-bind:class="\'disabled\' === ' . $wpc->store . '.nextGroupUid ? \'disabled\' : \'\'" x-on:click="' . esc_attr( $wpc->store . '.openGroup( ' . $wpc->store . '.nextGroupUid, $el)' ) . '">'; $html .= '<template x-if="\'disabled\' !== ' . $wpc->store . '.nextGroupUid">'; $html .= '<span x-text="' . esc_attr( $wpc->store . '.getLayerName( ' . $wpc->store . '.nextGroupUid, $el)' ) . '"></span>'; $html .= '</template>'; $html .= '<span class="wpc-icon ' . esc_attr( apply_filters( 'wpc_control_next_icon', WPC_Utils::icon( 'arrow-right' ), $wpc ) ) . '"></span>'; $html .= '</span>'; $html .= '</div>'; $html .= '</template>'; return $html; }, 10, 2 );
Paste this code on Code Snippet.
Adding the code through a custom code plugin. Install and activate the snippets plugin. We suggest using the Code Snippets:
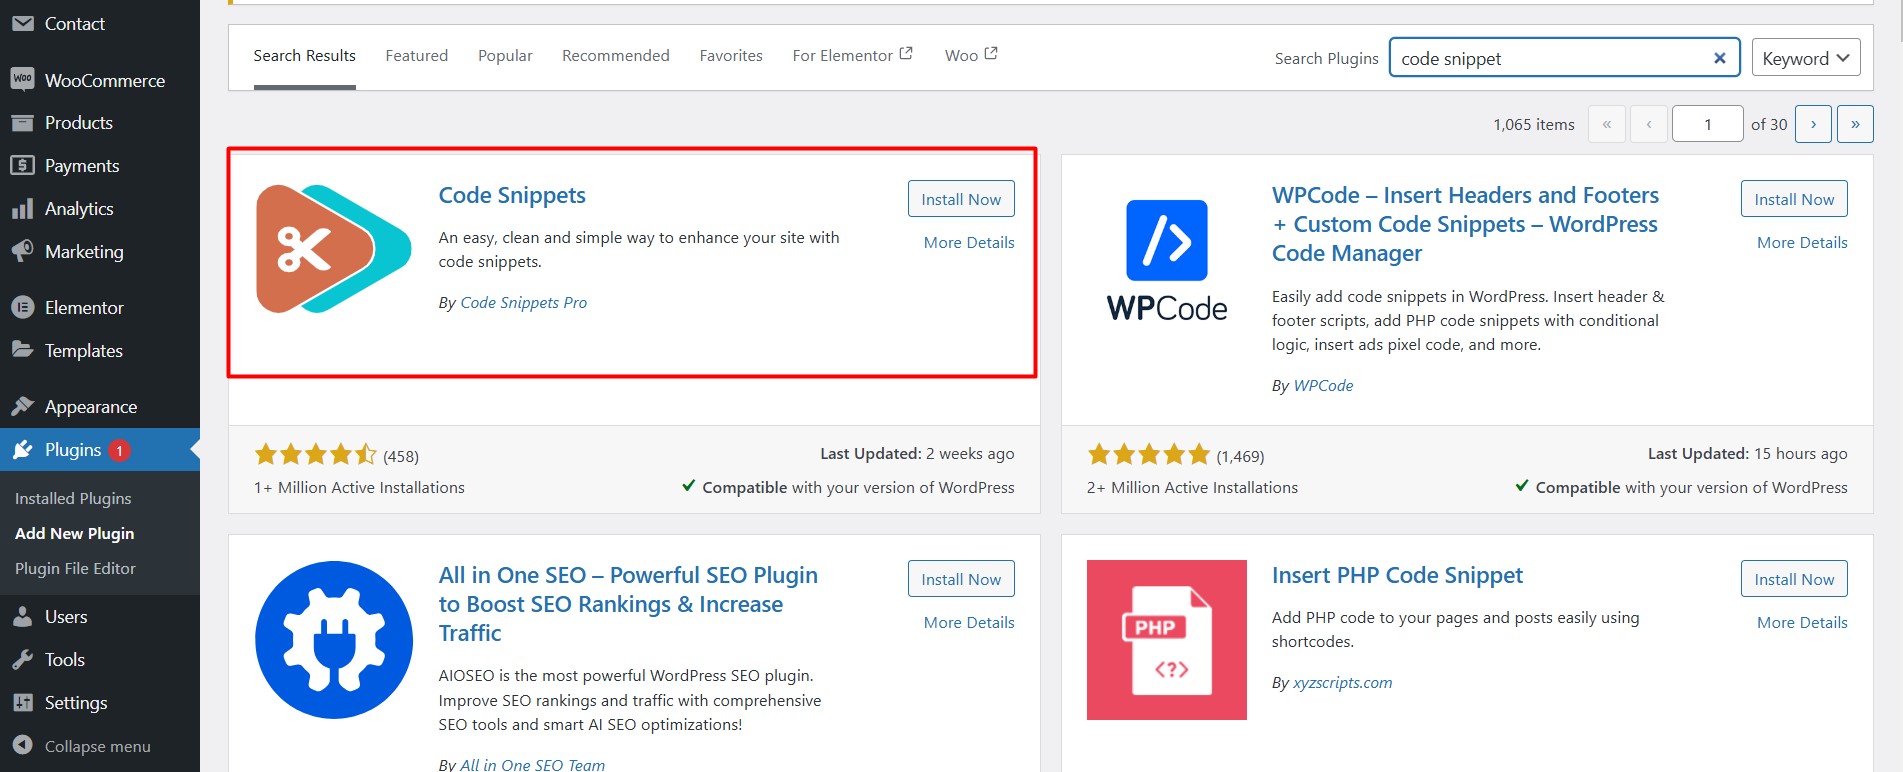
Activate the snippet to “run everywhere”.
![]()
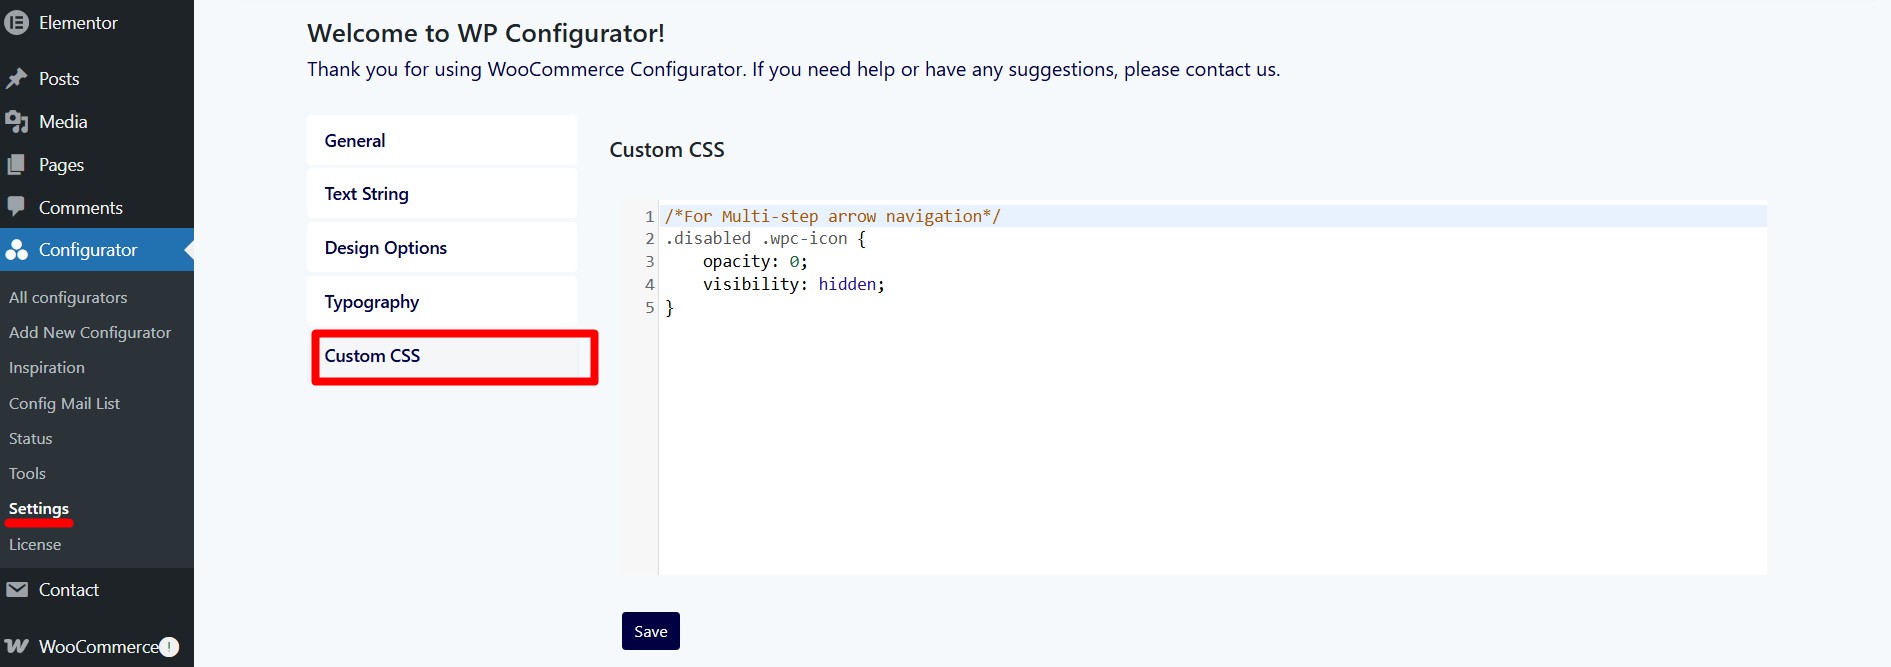
Optional: Add CSS code for the end arrow to be hidded.
This CSS Snippet works if the arrow is disabled on the last gropu of the Configurator. Paste the below code under Custom CSS.
Go to Configurator > Settings > Custom CSS
/*For Multi-step arrow navigation*/
.disabled .wpc-icon {
opacity: 0;
visibility: hidden;
}
By following these steps, your multi-step navigation will maintain a professional and sequential workflow, improving usability and reducing errors.